How to Setup Member Groups for External Users Accessing Site Pages
Purpose
Individuals outside of the University of Kentucky cannot be added as members to the default SharePoint member groups. This article shows how to:
- Create a Member Group
- Add People to a Group
- Apply a Member Group to a SharePoint Site Page
- View Group Permissions
External Users may only have access to a Teams Site. Communication Sites do not support external access.
Process
Create a Member Group
Create a Member Group
1. Click on the gear icon in the top right section of the SharePoint site.
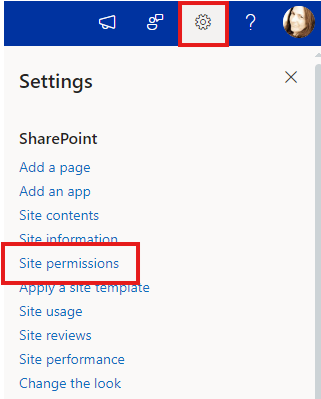
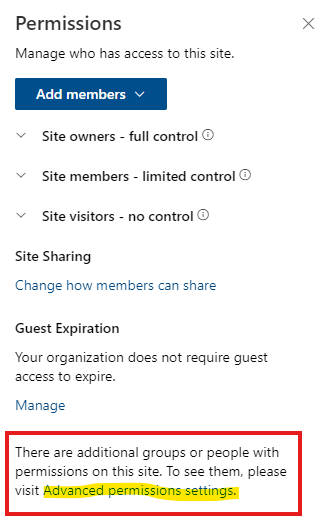
2. Click on 'Advanced Permissions' at the bottom of the Permissions window.

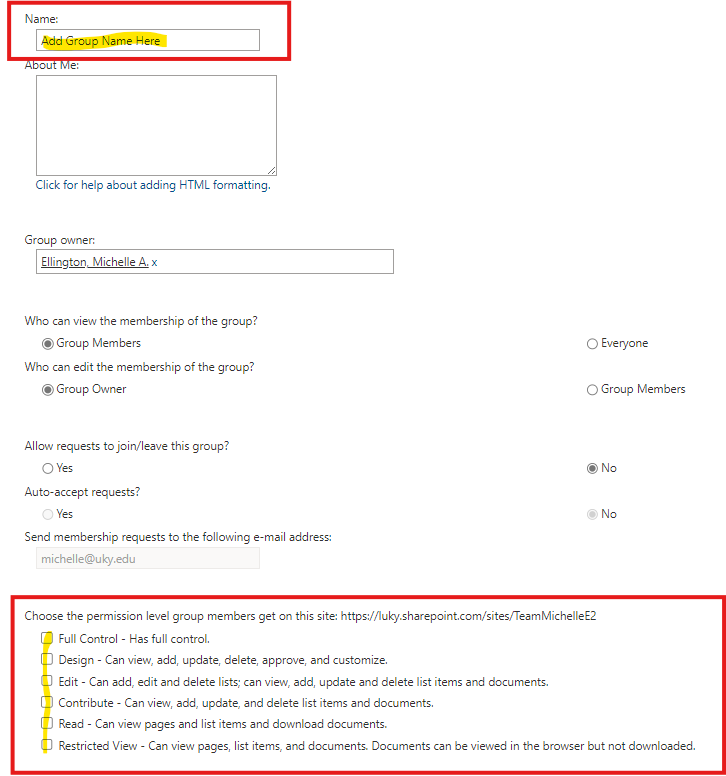
3. Click on 'Create Group'. Then name your group and select the appropriate permissions.
Add People to a Group
Add People to a Group
1. Click on the gear icon in the top right section of the SharePoint site.

2. Click on 'Advanced Permissions' at the bottom of the Permissions window.
 3. View the users provided access to the group. To add a new member, click on New and select 'Add Users to this Group'.

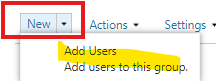
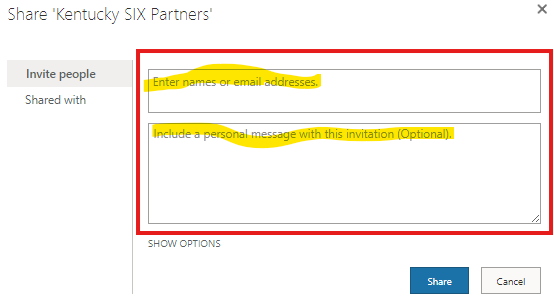
5. Type in the individual's email address you wish to assign group access. Add an optional message.
The individual will receive an email notification when added to the group. When a site page is shared to a member group, the individual will not be notified.
Apply a Member Group to a SharePoint Site Page
Apply a Member Group to a SharePoint Site Page
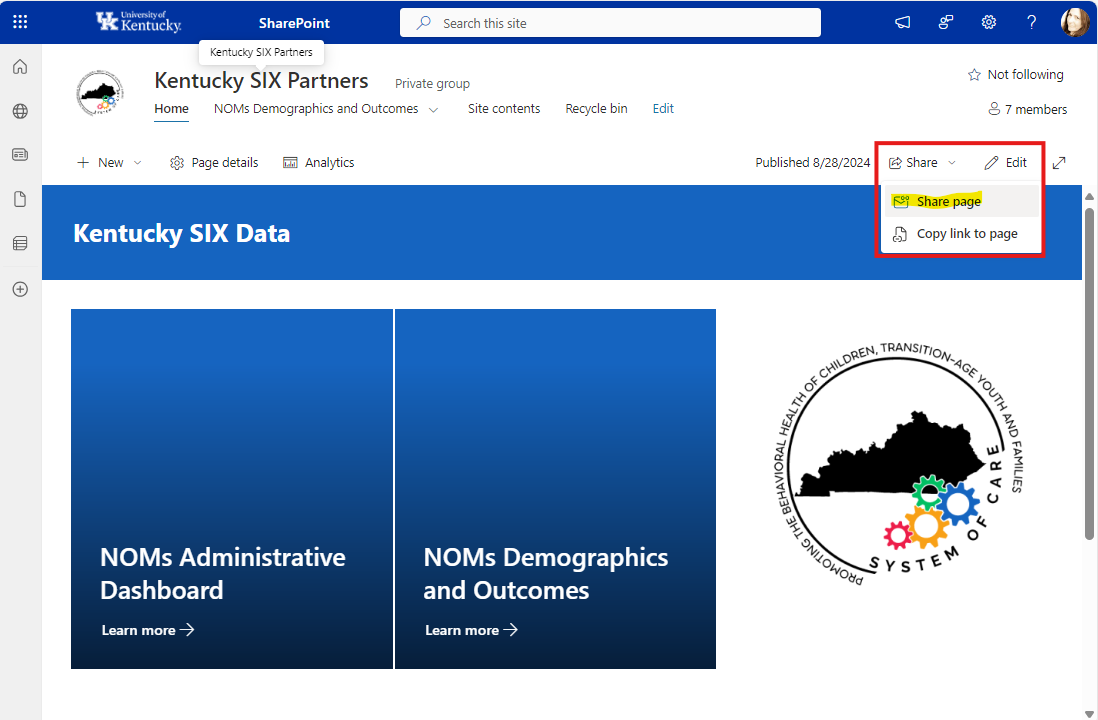
1. From any site page, click on the 'Share' button in the top right section of the page to expand the option, and select 'Share page'.
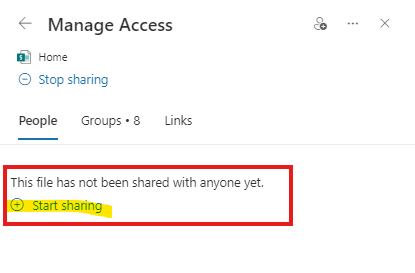
2. Click on the ellipses in the permissions section at the bottom of the window.
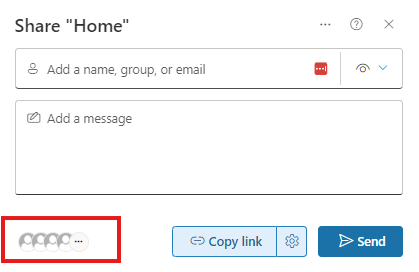
3. Click on 'Start Sharing'.
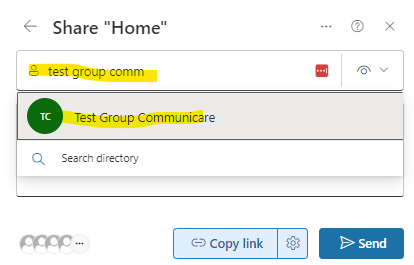
4. Type in the name of your group to locate it from the options list.
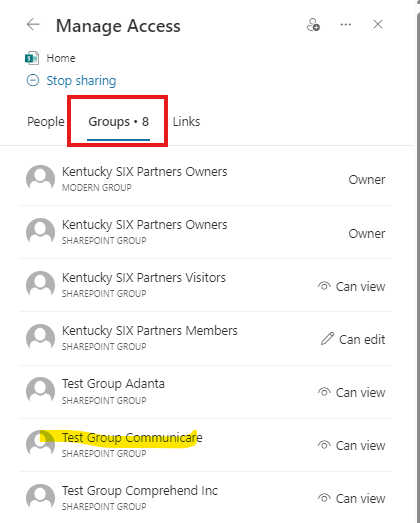
5 Confirm you see this group in the 'Groups' menu.
Use the Groups menu at any time to view which groups have access to the site page.
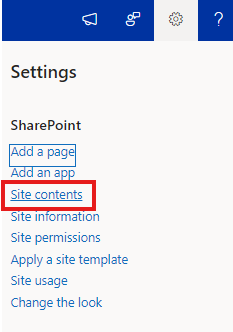
6. To apply permissions to multiple site pages, open the Site Contents and manage access from there.
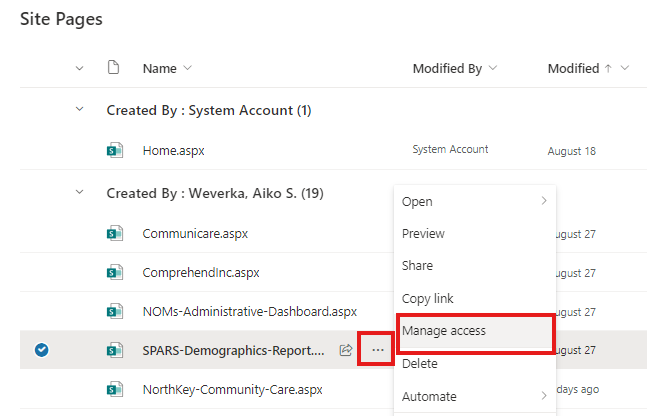
View Group Permissions
View Group Permissions
1. Click on the gear icon in the top right section of the SharePoint site.
2. Click on 'Advanced Permissions' at the bottom of the Permissions window.
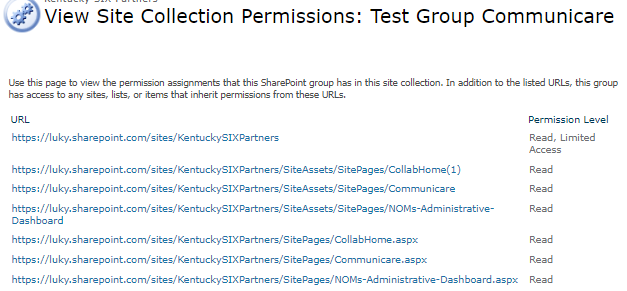
3. From here you can see all of your groups and the assigned permission level. Click on the group name to explore the group's options.
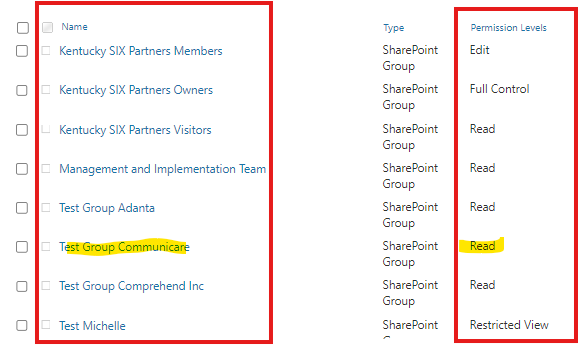
4. Click on a group name to open the group.
5. Click on 'Settings' to view group permissions.
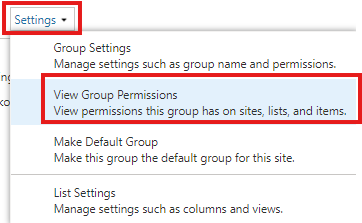
6. This view shows all site pages and assets shared to the group.