Create a workflow to send Qualtrics responses to an Excel File in OneDrive
Note: this process generates a new row in a OneDrive Excel file per new response in Qualtrics. As such, it's best put in place after the survey is finalized and published, and before it generates meaningful data.
- In Qualtrics, click on your project > Data and Analysis > Export Data. You can leave the export settings on their defaults.

- In OneDrive, create a folder with a name you will recognize. Inside this folder create an Excel file. Give the file a descriptive name relative to your project the the file's role in the process.
- Copy/paste the headings from your Qualtrics Export into your excel file in OneDrive. CTRL-A to highlight what you have just pasted and format as a table. Give the table and tab a descriptive names relative to your project the their role in the process.
- In Qualtrics, in your project, click on workflows >Create a Workflow > Start When an Event is Received

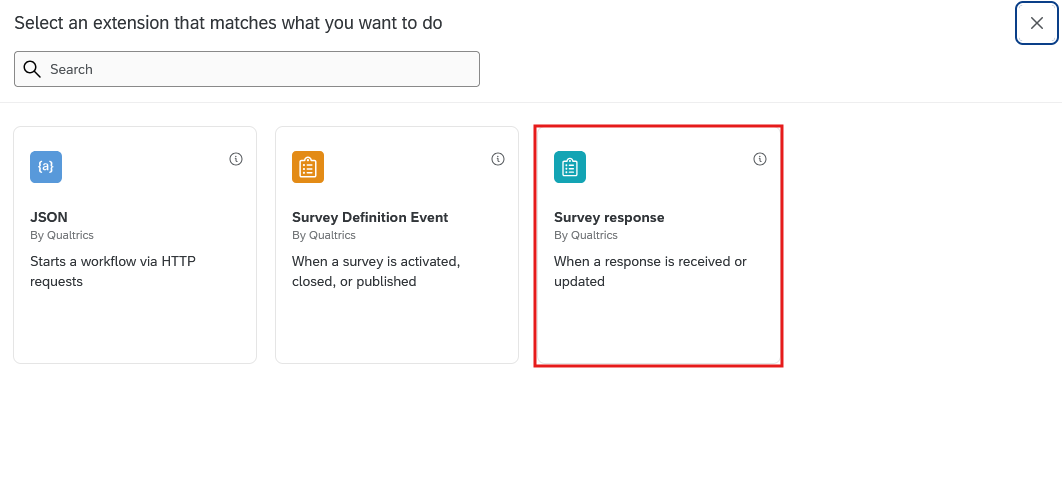
- Select When a survey response is received. You can keep the default settings and click finish.
- You have now created a workflow. Click on your workflow name to give the workflow a descriptive name relative to your project the the workflow's role in the process.

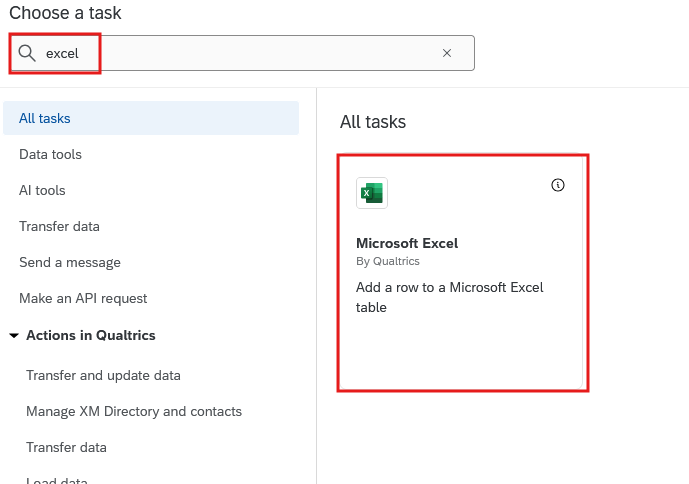
- Qualtrics has a variety of tasks that can accomplish many things. In order to find the excel task, search "Excel" in the search box and select "Microsoft Excel: Add a row to a Microsoft Excel Table".
- You should see your UK single sign on pop up under user account. If not, you may need to add and authorize your account.
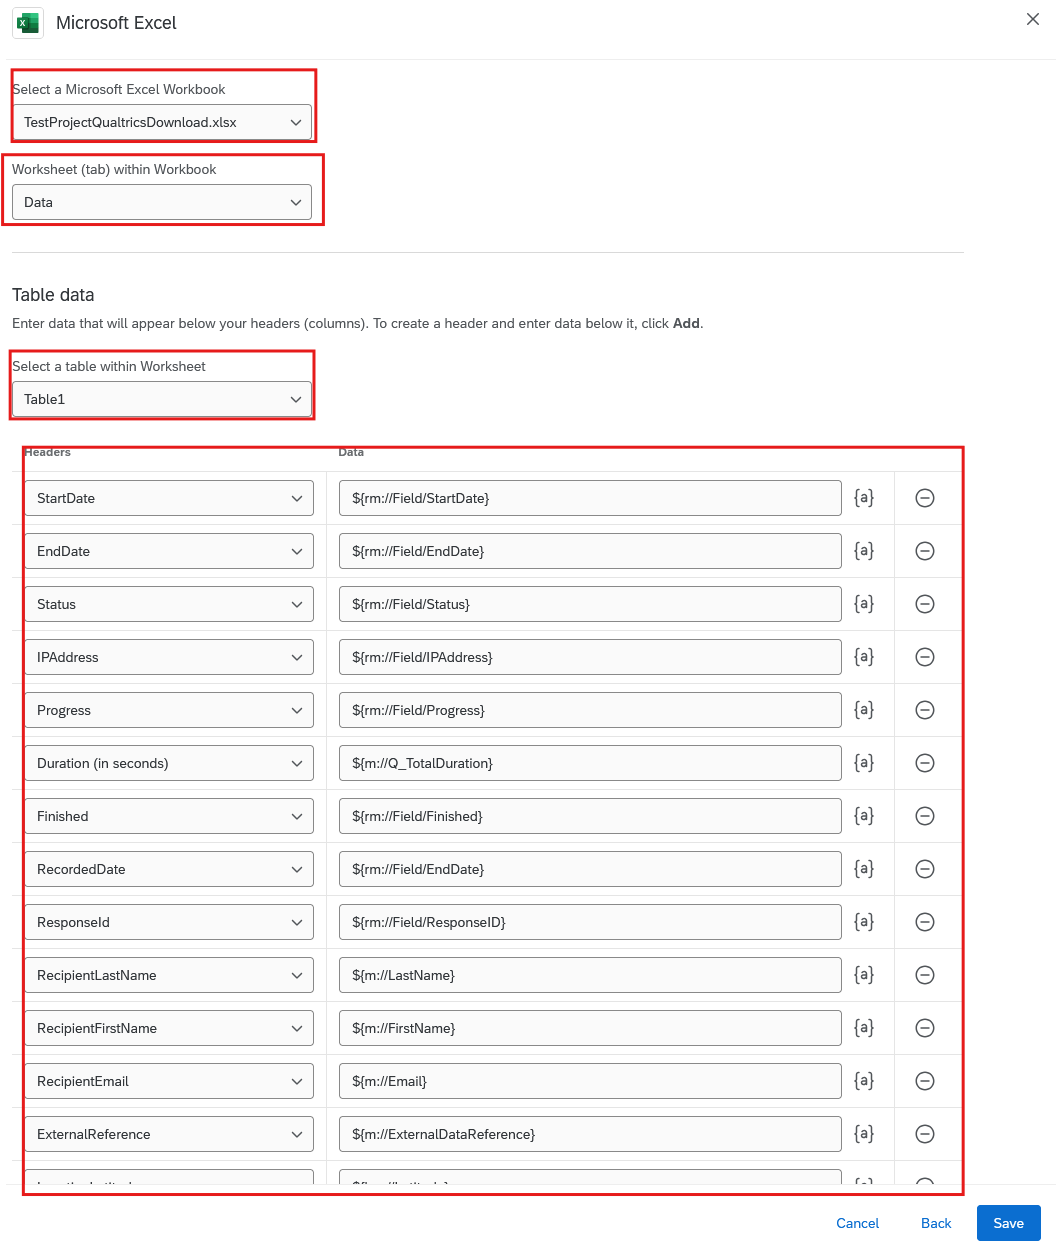
- We now need to connect the workflow to the file we created in OneDrive. Clicking on Select a Microsoft Excel Workbook should allow you to search folders in your OneDrive. Click on the OneDrive File we named earlier, tab, and table. This will populate a list of the table column headers. We now need to individually match the header fields on the left with the data on the right. To do this click on the {a} to the left of a data field and navigate to the field that matches the header. Do this for all header fields.

- Save your workflow and test by returning to your survey and completing a preview to generate data. After a few moments a new row representing your data should appear in your OneDrive Excel File.