
Add Huguenard Printer
Add Huguenard Printer
1. Download the Ricoh IM C4510 driver:
You can find the drivers by web searching for the model of the printer you are adding.
(Huguenard printer driver page linked below)
https://support.ricoh.com/bb/html/dr_ut_e/rc3/model/imc4510/imc4510.htm 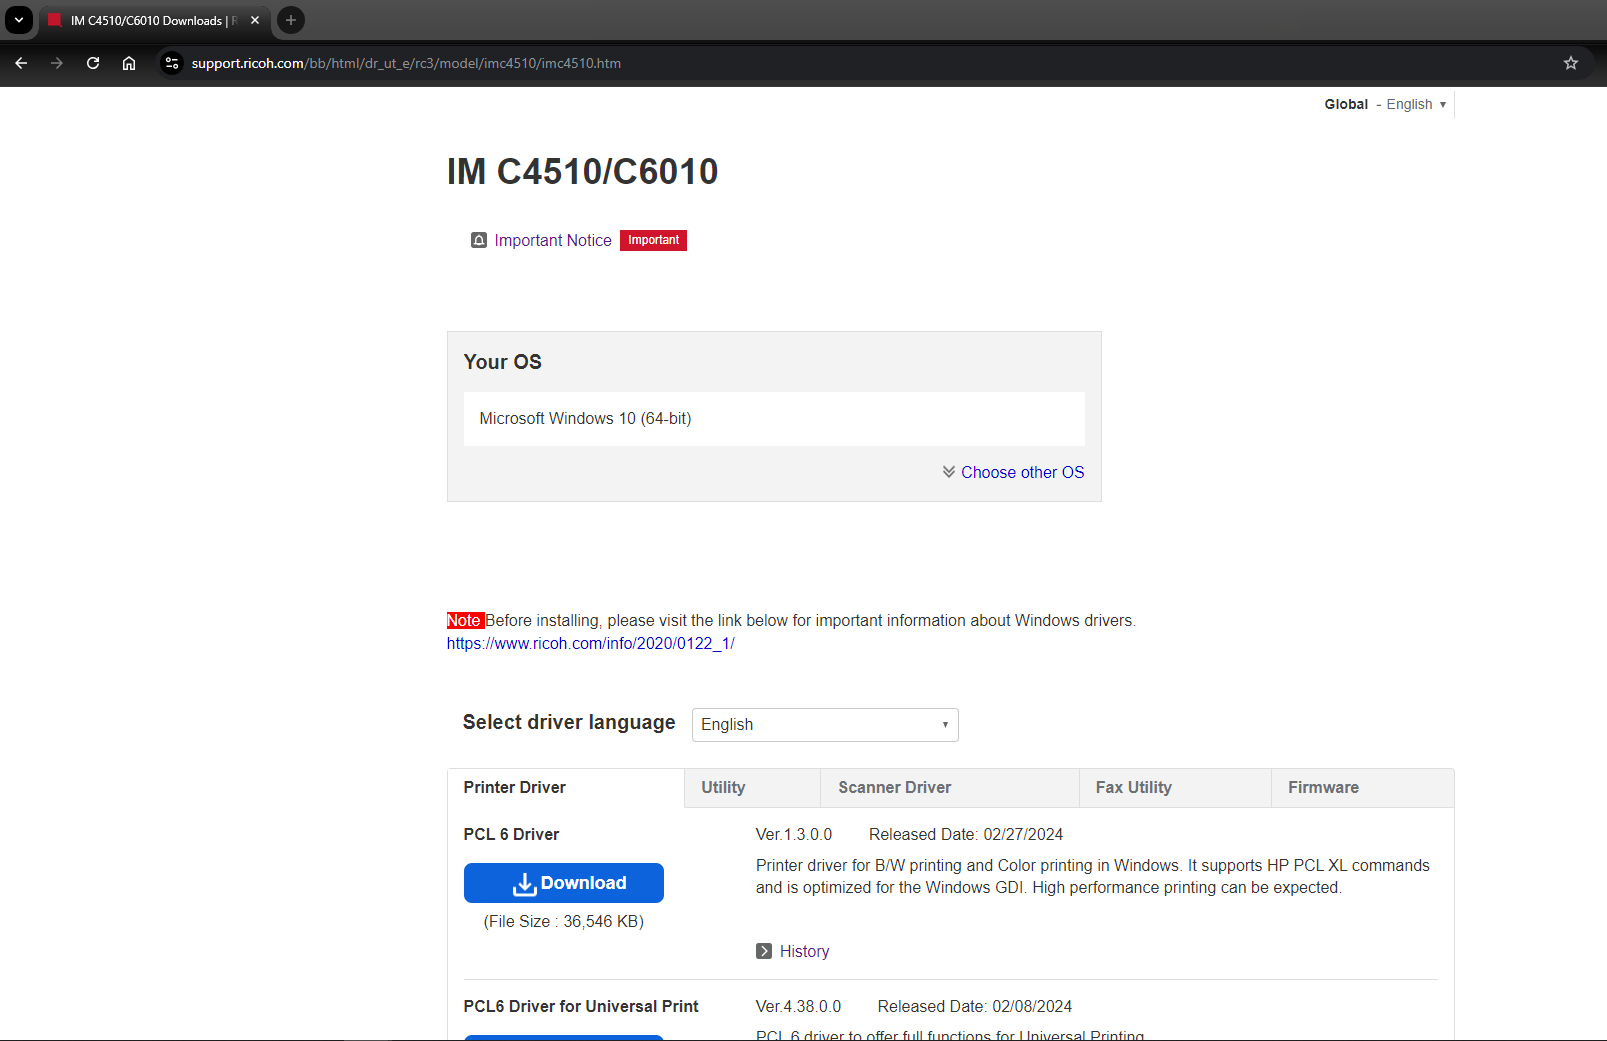
You will need to download the PCL6 V4 Driver for Universal Print.
2. Run the downloaded .exe file:
Locate the downloaded file in your download history and run the .exe 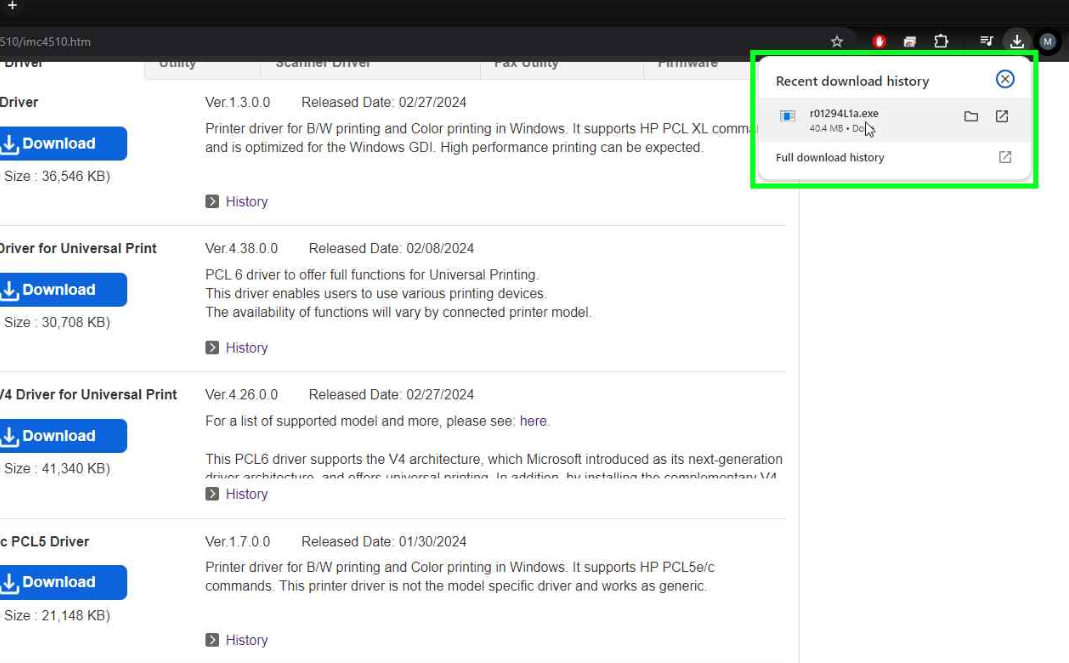
The .exe file opens a window that will ask you where to extract the driver installer files to, but you can click Ctrl+C or right click and copy the folder path and select ”Unzip”.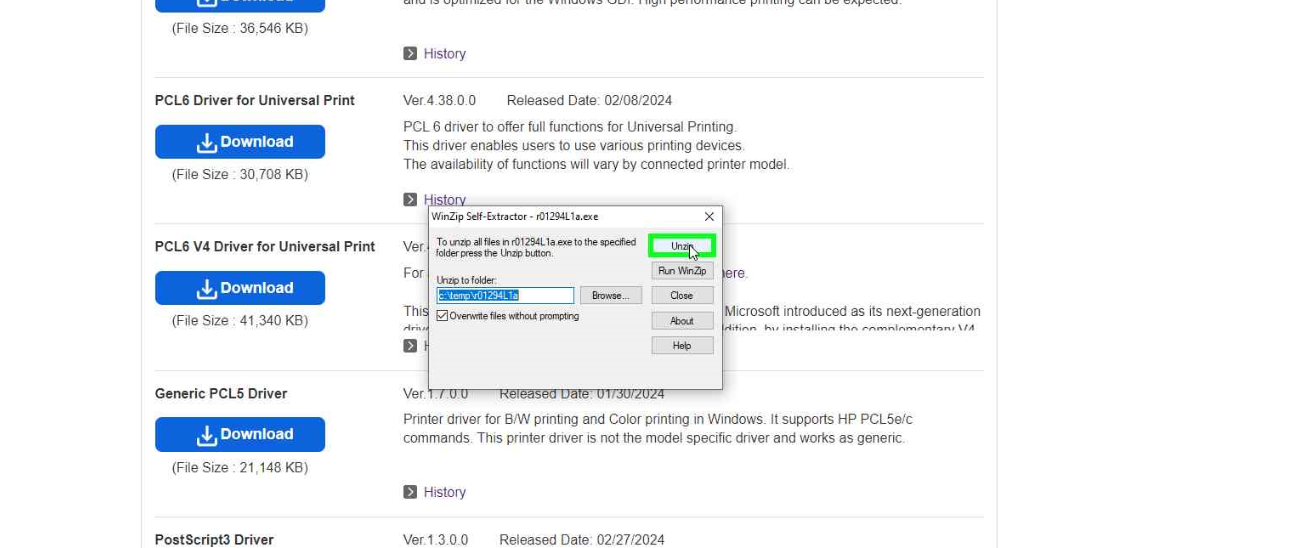
3. Locate the Folder in Your Files:
Paste the copied folder path into File Explorer Address Bar. 
4. Run the “RV_SETUP” Application to start installing the Printer Driver:
Locate and double click to run the RV_SETUP application. 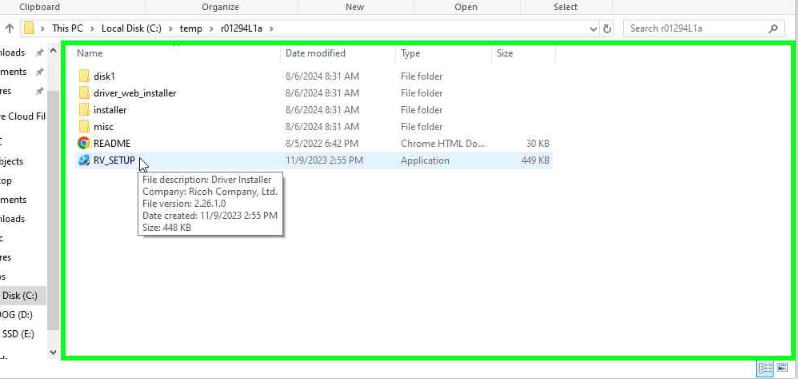
5. Driver Installer Setup:
The Installer will begin the steps to install the printer driver. Agree to the User License Agreement and click on the “Agree and Go to Next” button. 
Select the "Network” option as your setup method and click the ”Next” button. 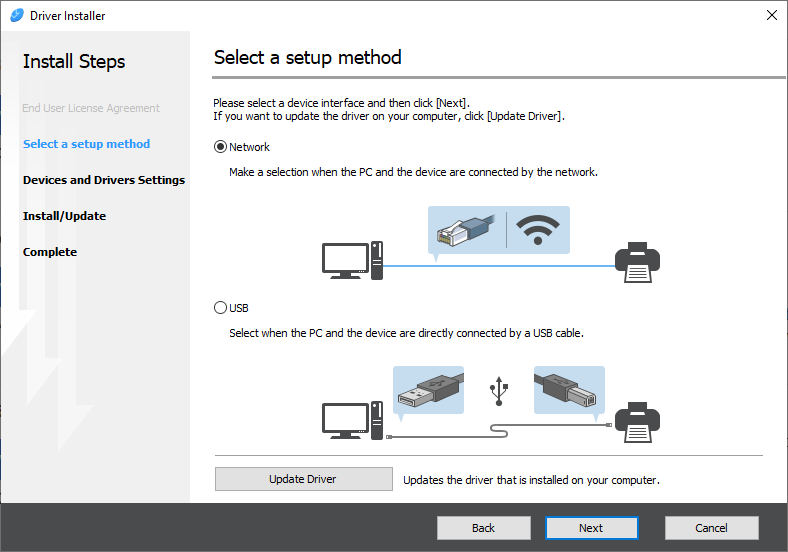
The printer will appear in the devices window. Click the “Next” button to select our printer as the device. 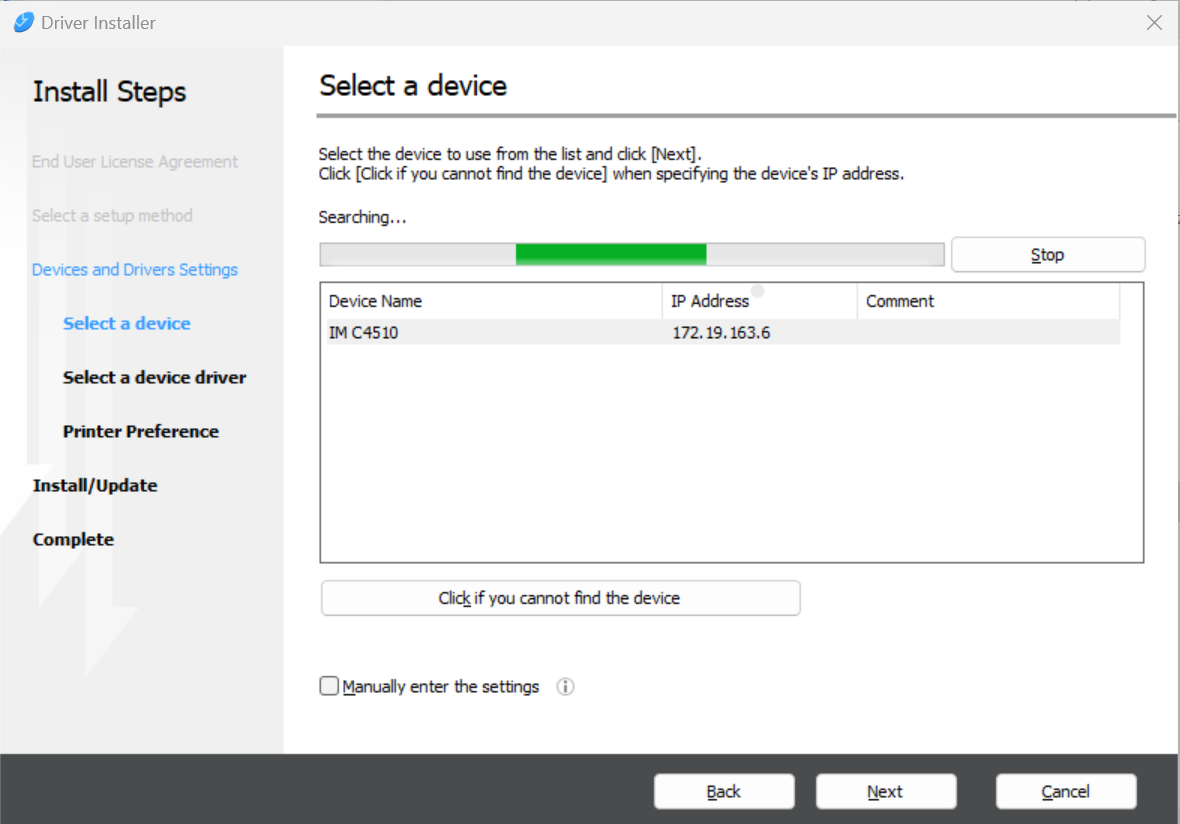
The printer driver should now begin installing and might take a few minutes to completely install. You will get a ”Complete” screen that will indicate the driver was successfully installed. Click the ”Finish” button to close the window.
6. Add the Printer through Printers & Scanners:
Press the Windows Key or Use the Windows Search bar to search “Printers and Scanners” to open the printers and scanners section of your windows devices. 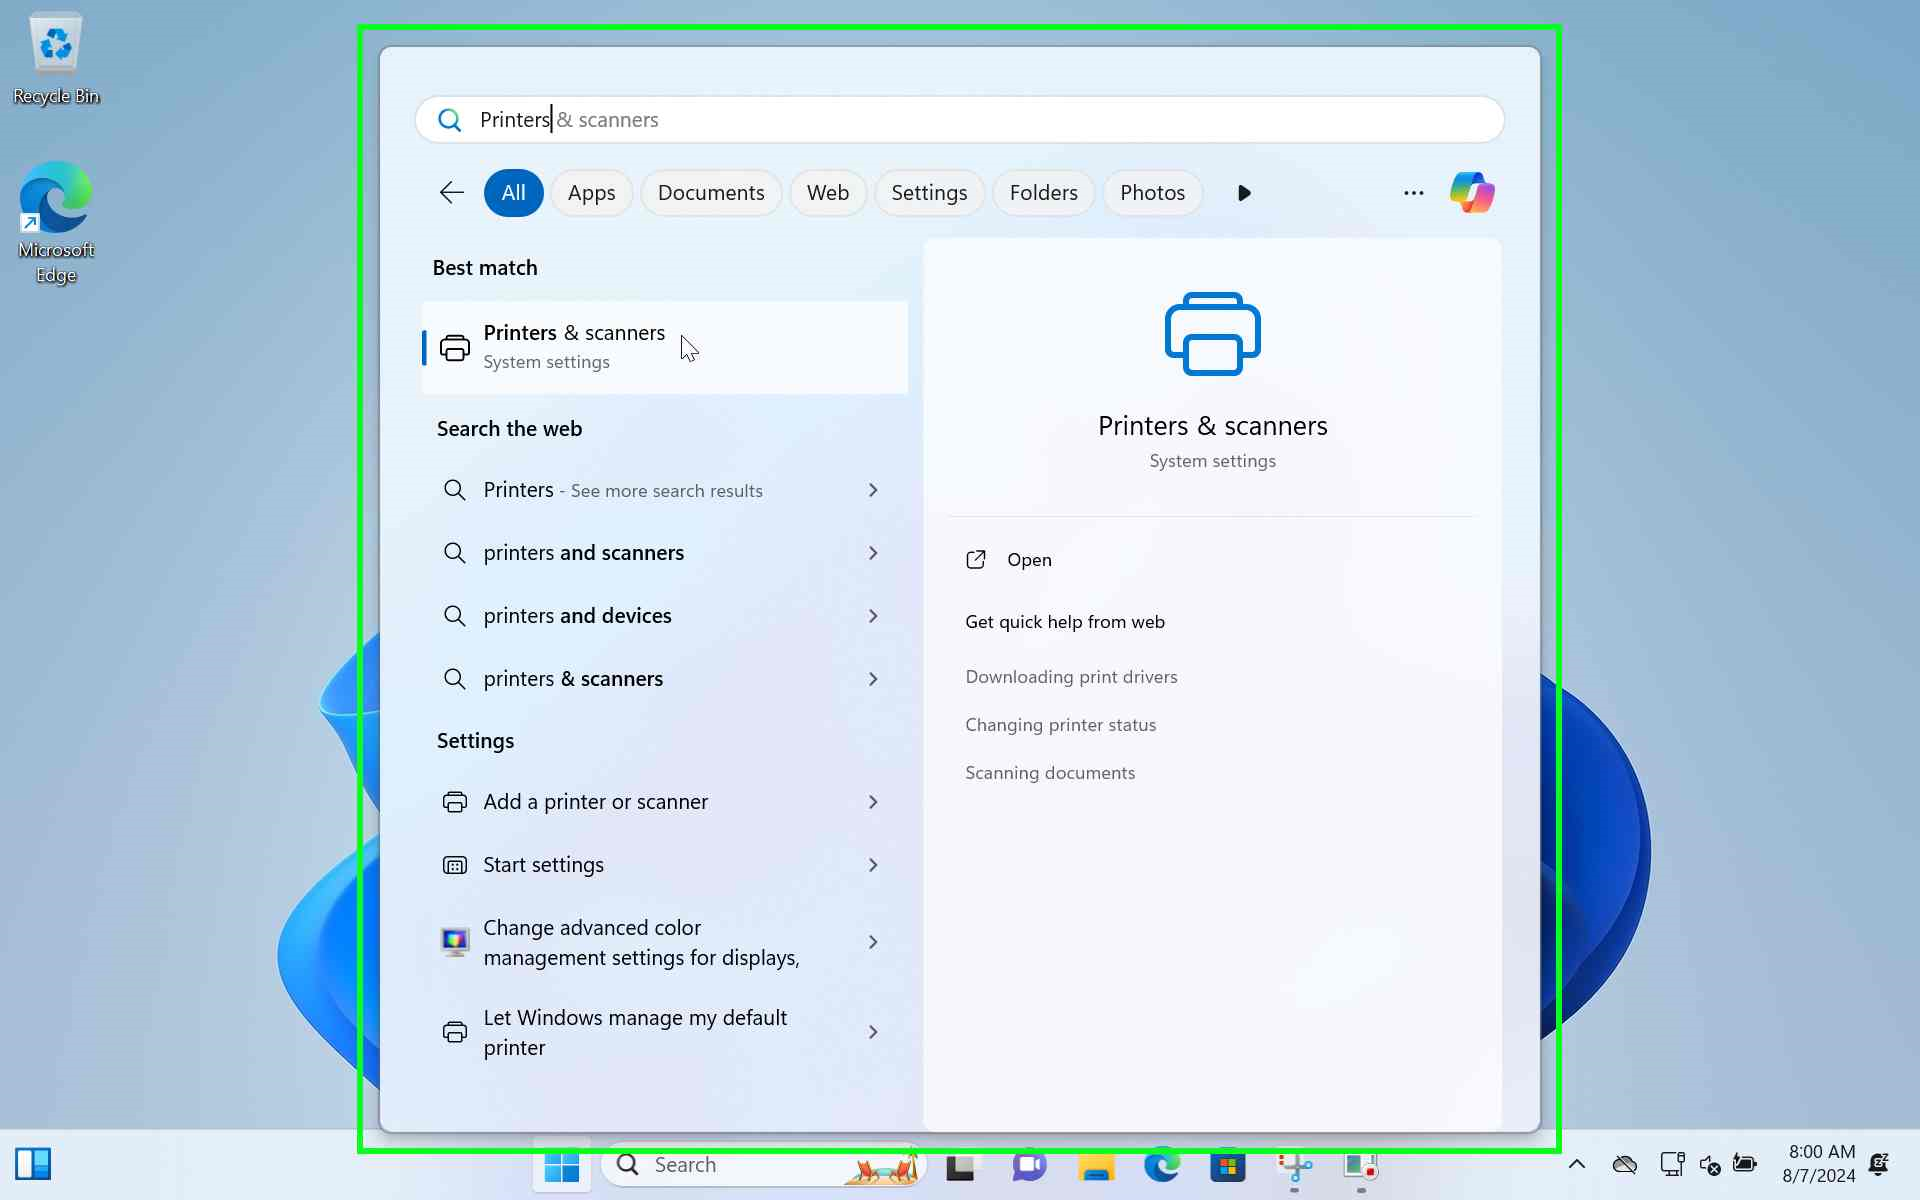
Click on ”Add Device". If the device was not found, click on ”Add Manually”. 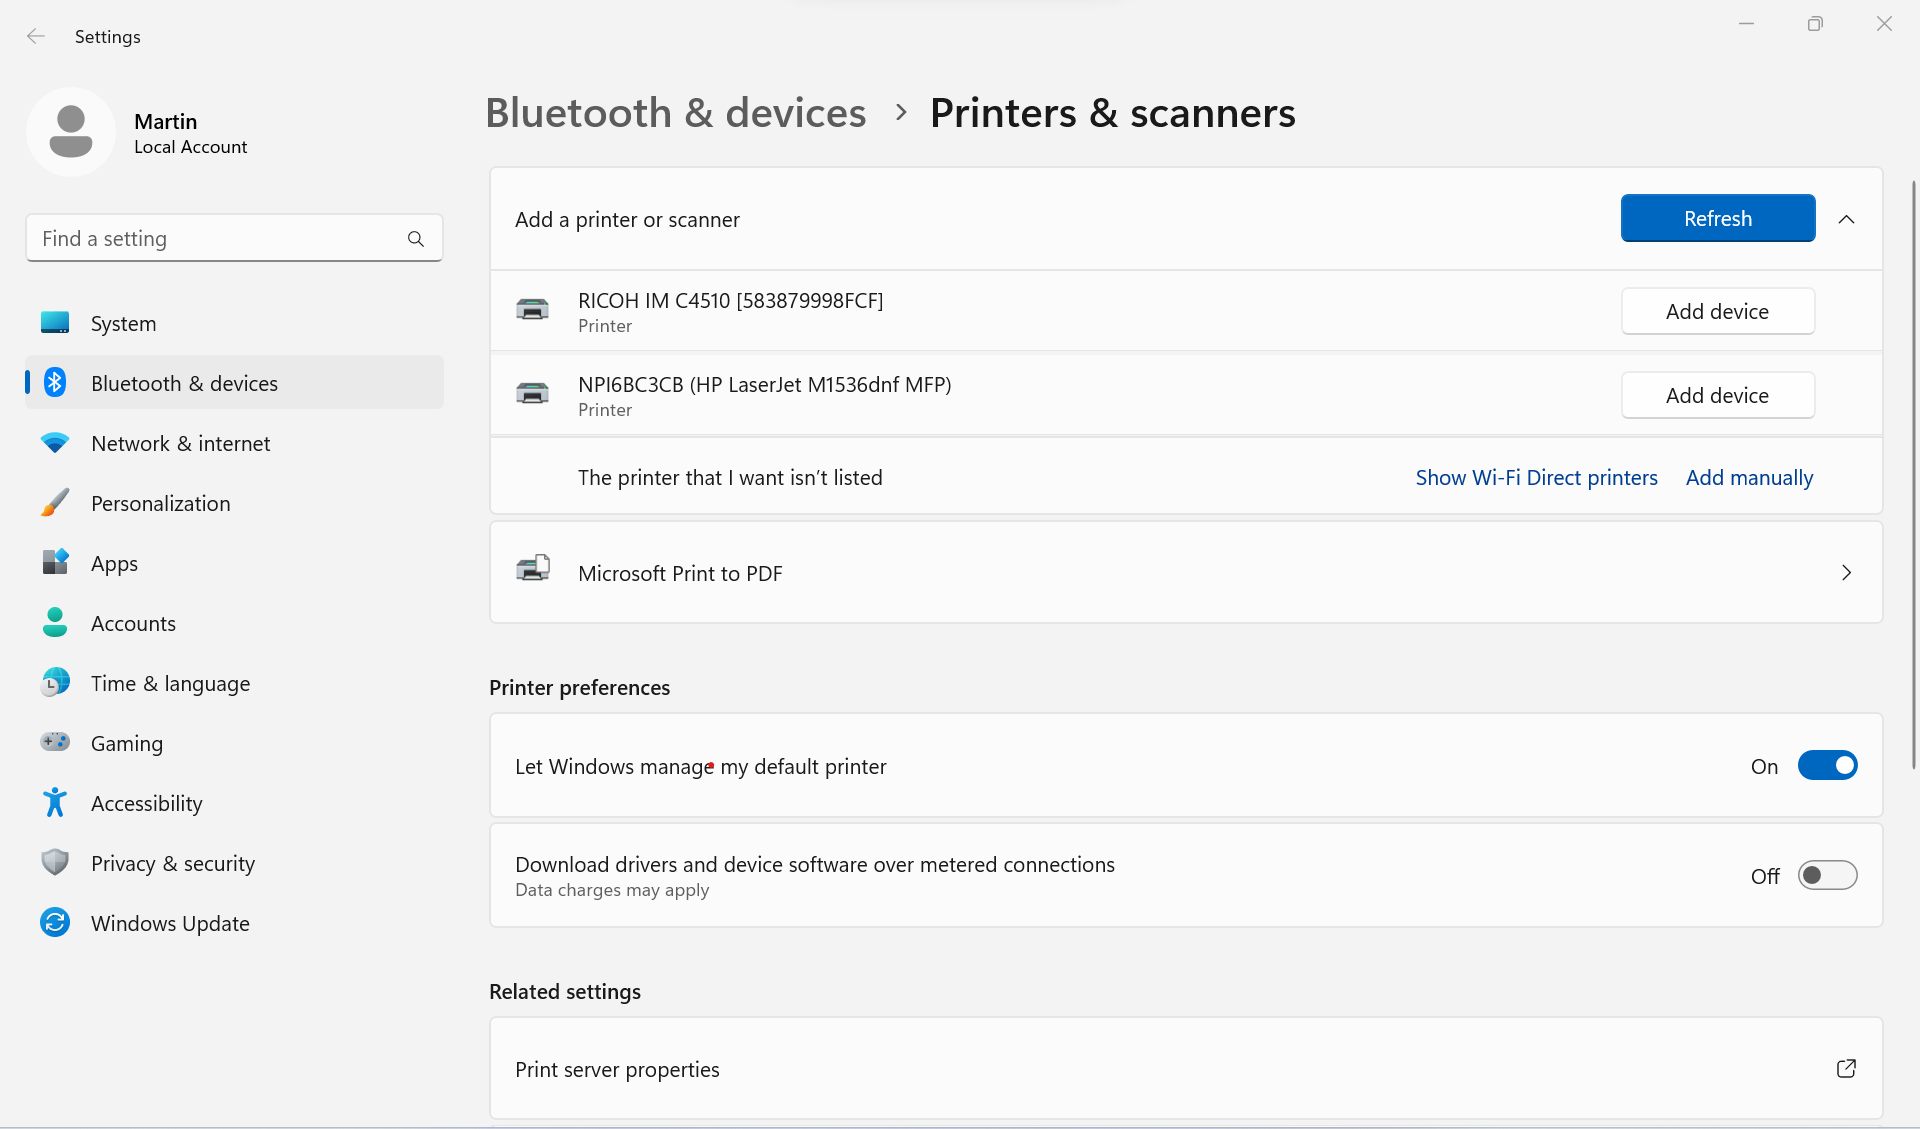
Select ”Add a printer using an IP address or hostname” and click the ”Next” button. 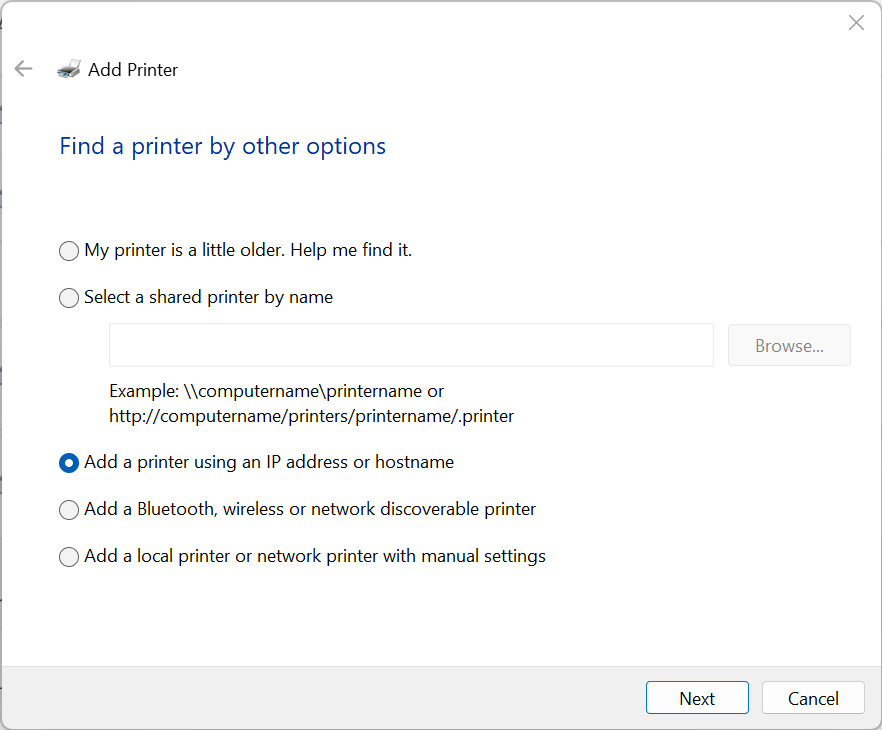
Select ”TCP/IP” as the device type. Input ”172.19.163.6” as the Hostname or IP address. Then click the ”Next” button.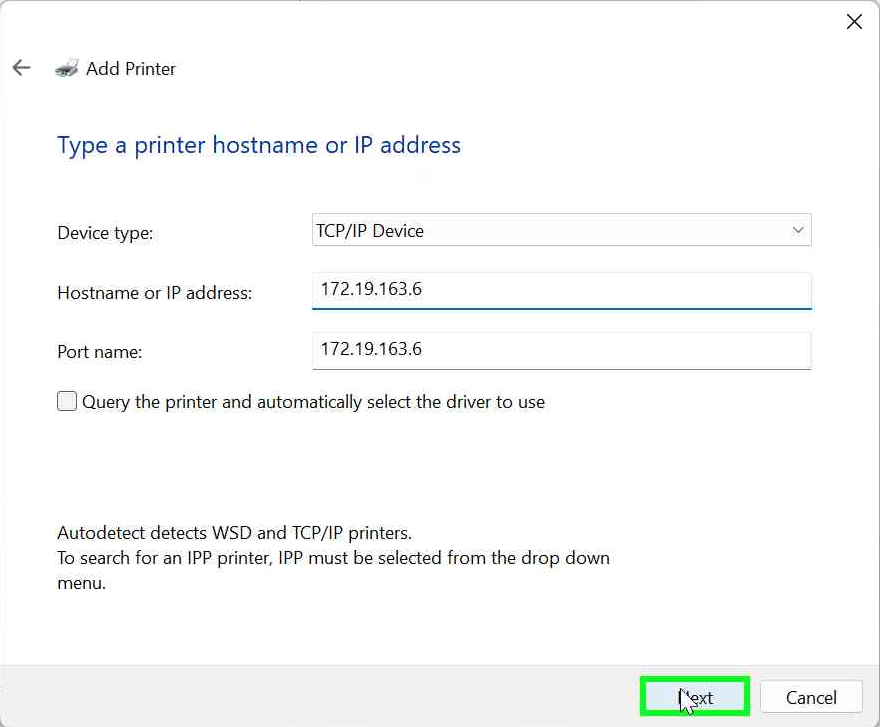
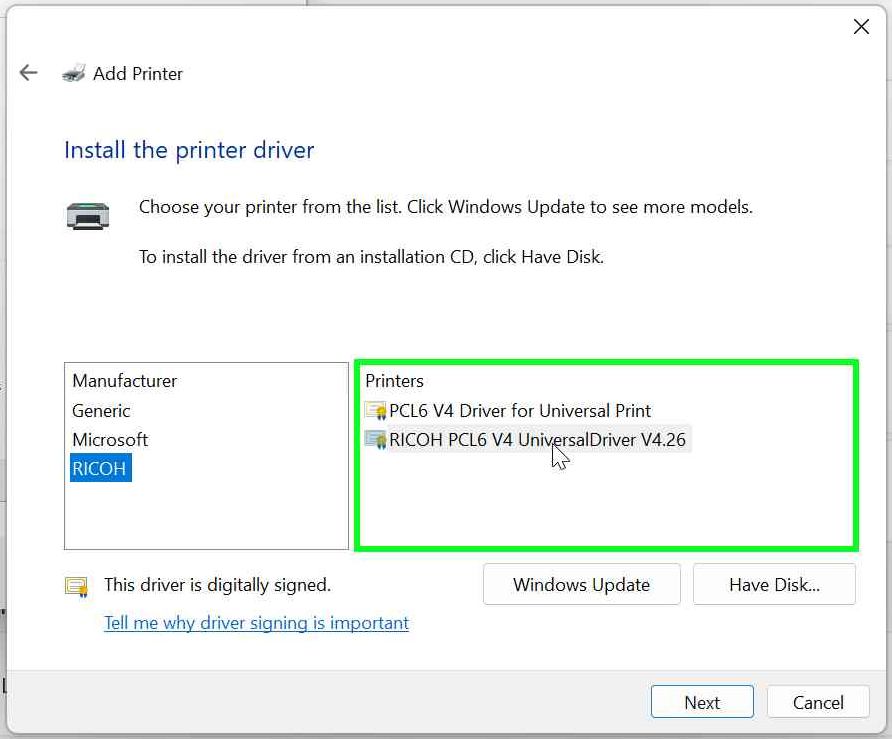
Select the "RICOH" drivers and click on the "RICOH PCL6 V4 UniversalDriver V4.26" driver and click the "Next" button.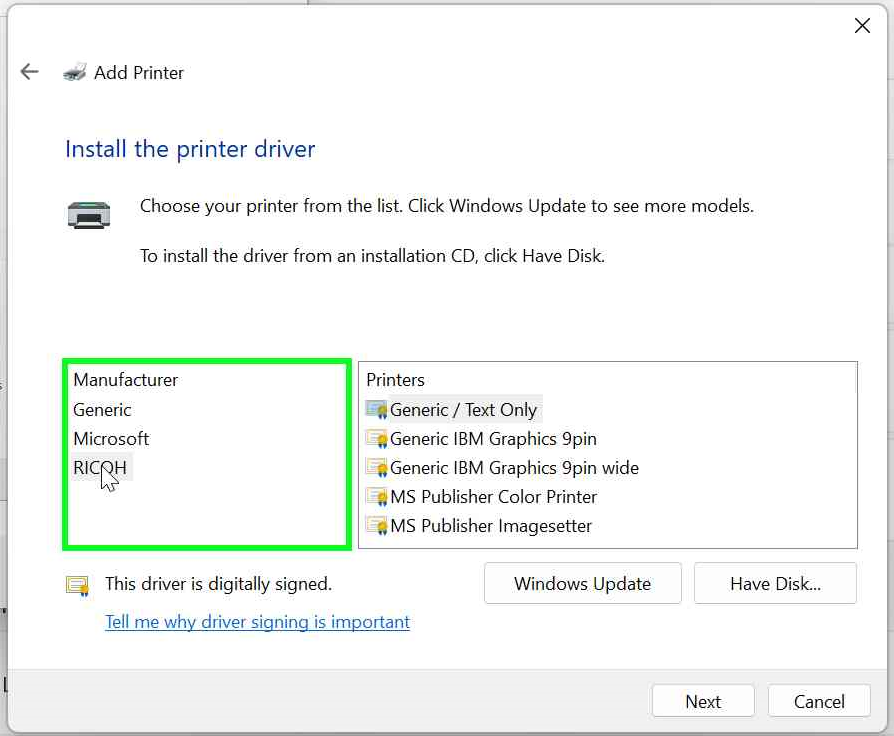
Name the printer and click the "Next". You can select to not share the printer and click the "Next" button to finish adding the printer.
7. Adding your Code to Enable Printing:
You will need to add your user code to the added printer to be able to successfully print. Locate and select the newly added printer to open the "Printer Settings" dropdown menu. 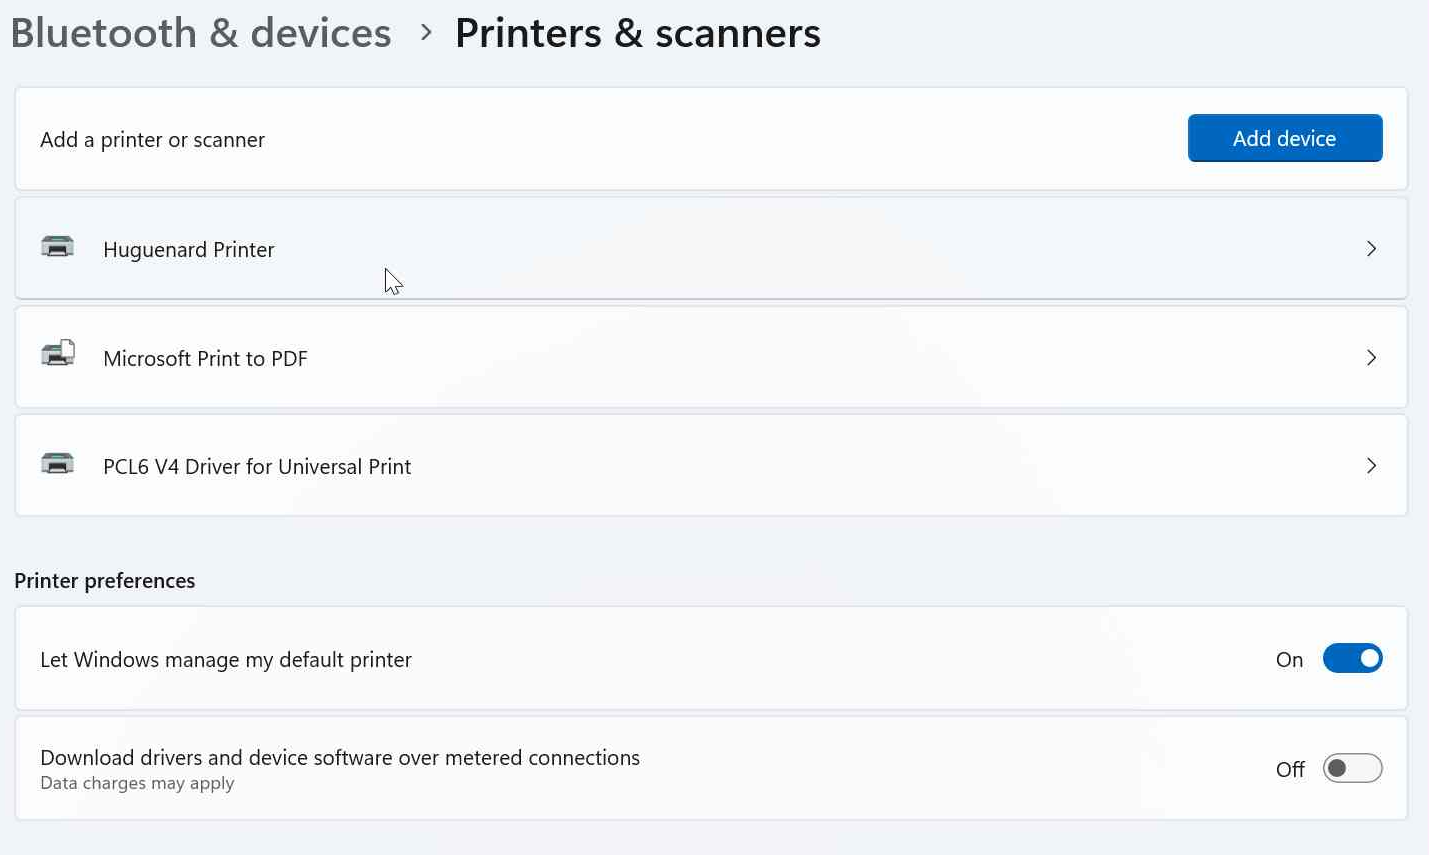
Select the "Printing preferences" option.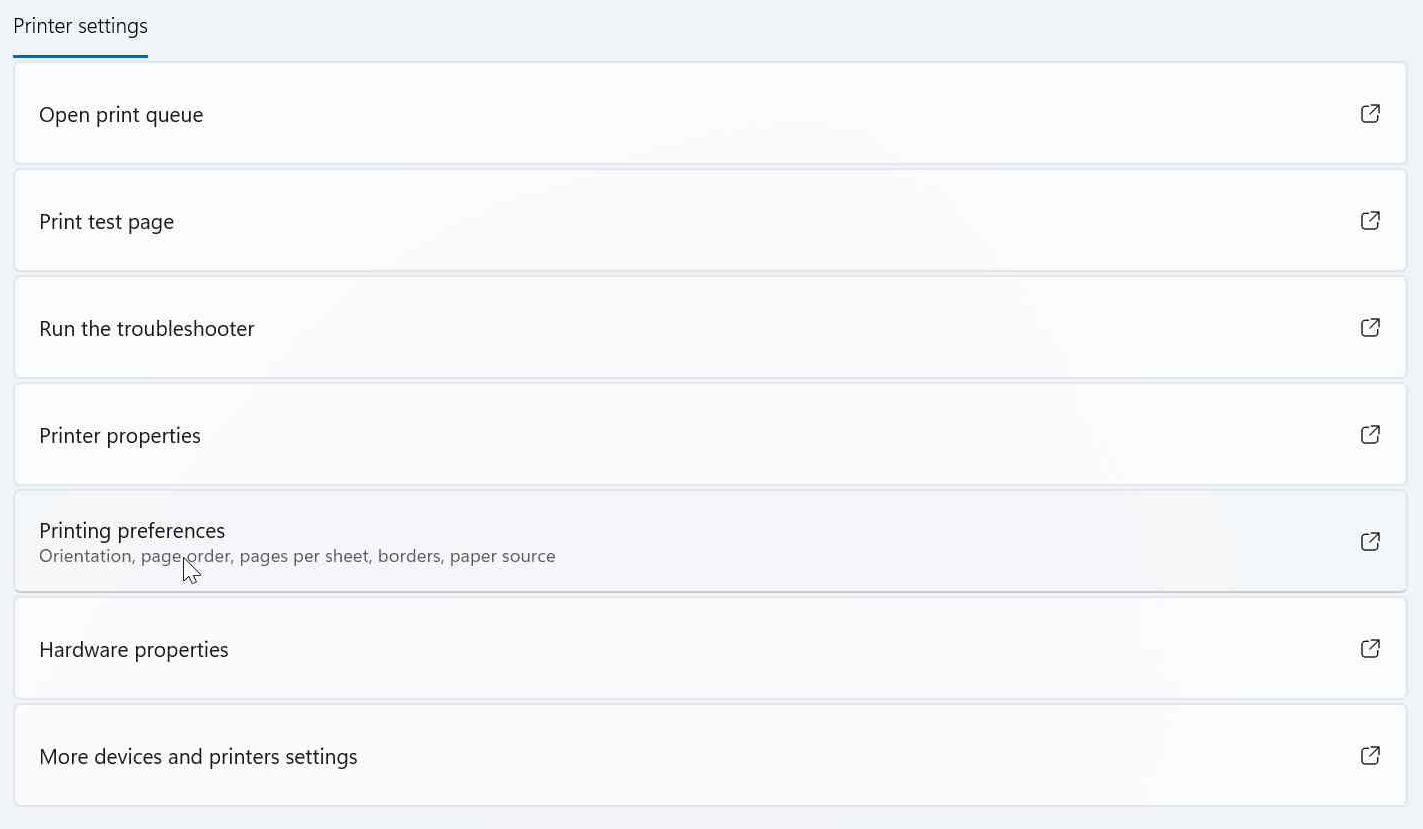
In the Printing Preferences window under the "Basic" tab. Click on the "User Code Setting..." button to change the current user code.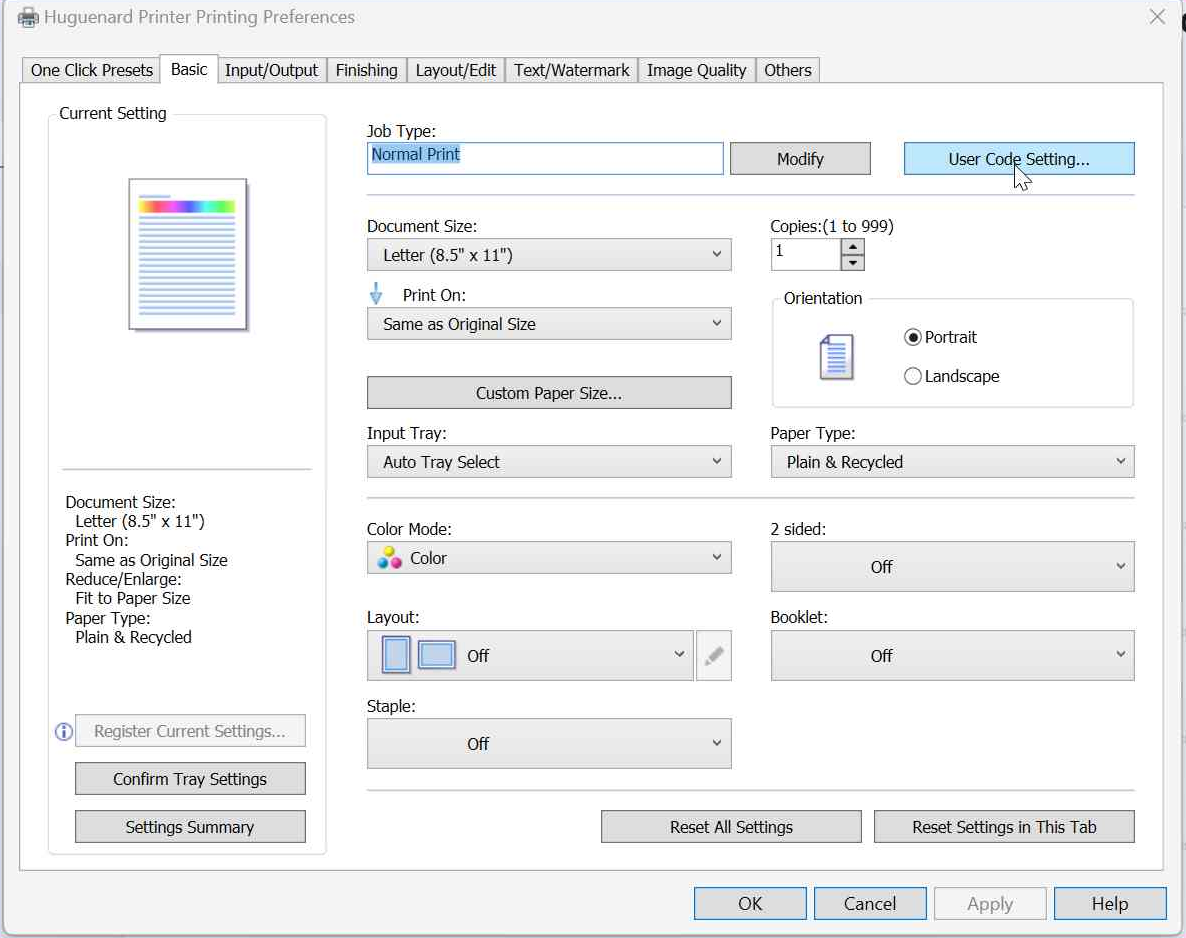
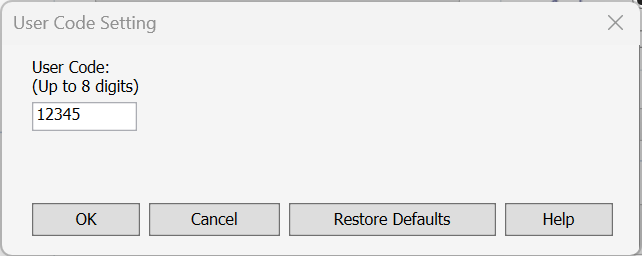
Input your User Code and click the "OK" button.
The user code is usually five digits and is based on your department or project. Contact a supervisor or business officer for support.
Click "Apply" to confirm your changes and click the "OK" to close the Printing Preferences window.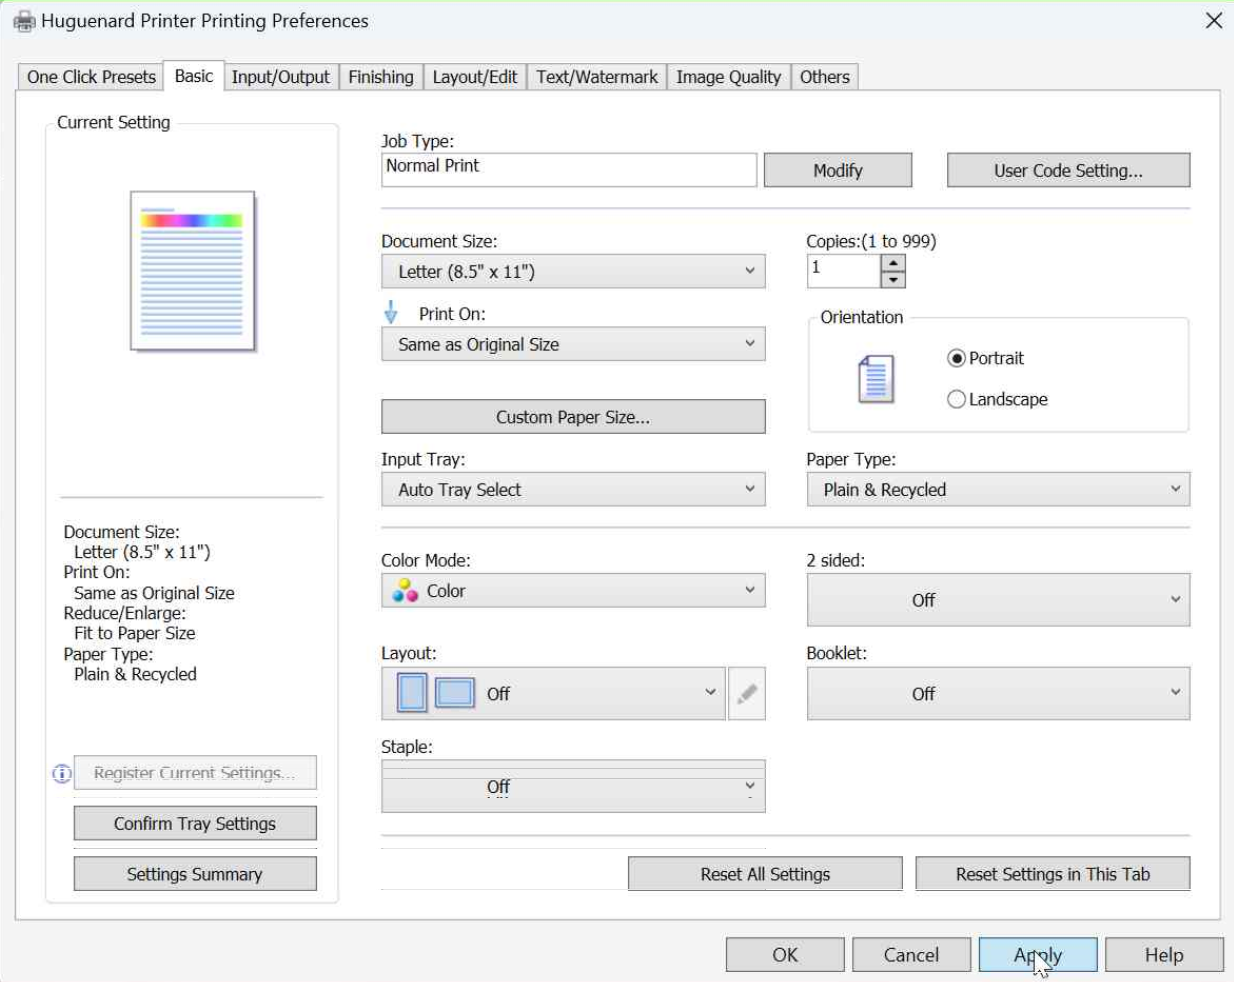
After applying your user code you should now be able to print to the Huguenard Printer.